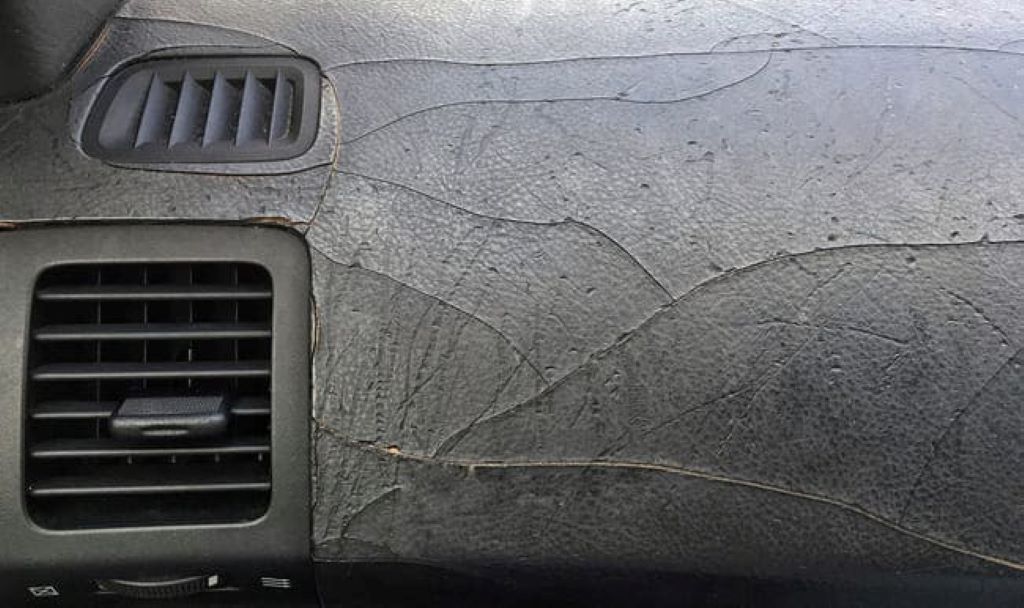
Cracked dashboards are a common nightmare for car owners, especially those living in areas with intense sunlight. Sun damage can wreak havoc on your vehicle’s interior, and a cracked dashboard is not only unsightly but can also reduce the resale value of your car. DIY repair for cracked dashboard is an excellent solution, whether you’re trying to save money or simply enjoy the satisfaction of restoring your car yourself. In this guide, we’ll walk you through every step to bring your dashboard back to life.
Oh, and while you’re diving into this guide, don’t forget to explore Wannataxi for additional automotive tips and tricks that’ll make your car ownership experience even smoother!
Why Do Dashboards Crack in the First Place?
To effectively repair your dashboard, it’s crucial to understand what causes the cracks in the first place. Extreme sun exposure is one of the primary culprits. Ultraviolet (UV) rays degrade the materials in your dashboard, causing them to dry out, lose elasticity, and eventually crack. Temperature fluctuations, low-quality materials, and lack of proper care can exacerbate this problem.
According to research, vehicles exposed to direct sunlight for extended periods can reach interior temperatures of up to 145°F (63°C), turning your dashboard into a brittle surface prone to damage. With such knowledge, it’s clear why preventative care and timely repairs are essential.
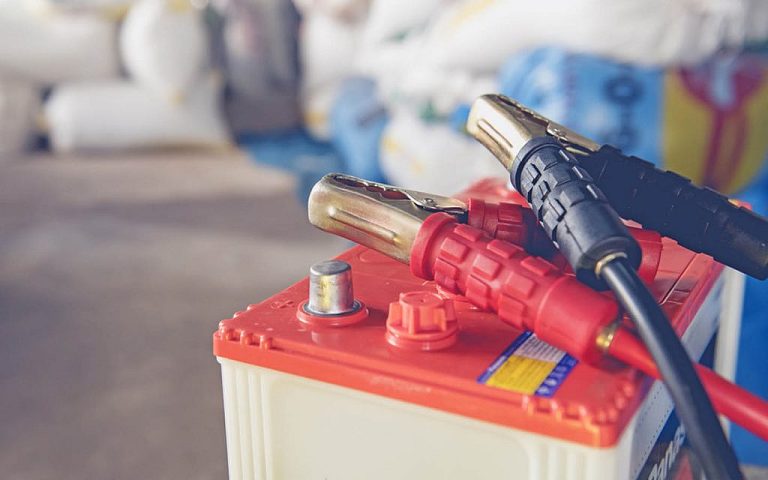
If you’re working on electrical components during your dashboard repair, understanding what gauge is automotive wire is essential. The wire gauge affects the performance and safety of your vehicle’s electrical system. For dashboard repairs involving electronics, selecting the correct gauge ensures reliable connections and prevents overheating or electrical issues.
Materials You’ll Need for a DIY Dashboard Repair
Before diving into the repair process, gather the necessary materials. Having the right tools will save time and ensure your project’s success.
- Vinyl repair kit
- Sandpaper (fine-grit, around 220-400 grit)
- Putty knife or small spatula
- Dash filler or epoxy glue
- Color-matched vinyl paint or dye
- UV protectant spray
- Soft cloths
- Painter’s tape
- Heat gun (optional, for more advanced techniques)
These tools are easy to find at local auto supply stores or online retailers. Investing in quality materials will ensure a lasting repair that can withstand further wear and tear.
Preparing Your Dashboard for Repair
Preparation is key to a successful DIY repair. Follow these steps before diving into the actual repair process:
- Clean the Surface: Wipe down the dashboard with a damp cloth to remove dirt, dust, and debris. Use a mild detergent if needed but avoid harsh chemicals that could worsen the damage.
- Assess the Damage: Identify the size, depth, and location of the cracks. Hairline cracks may only need a filler, while deeper cracks may require a patch or additional support.
- Protect Surrounding Areas: Use painter’s tape to protect any parts of your dashboard or interior that you don’t want to accidentally damage or stain during the repair process.
Proper preparation ensures that the repair materials bond effectively with the dashboard surface, extending the life of the repair.
Fixing Hairline Cracks with Vinyl Repair Kits
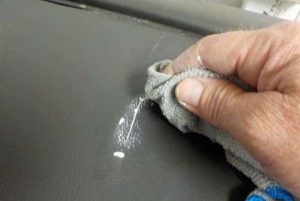
For minor cracks, vinyl repair kits are the easiest and most cost-effective solution. These kits are designed specifically for automotive interiors and often come with a variety of color options to match your dashboard.
- Start by applying the vinyl filler into the cracks using a small spatula or putty knife.
- Smooth out the filler so that it’s flush with the dashboard surface.
- Allow it to dry according to the product instructions, which typically takes a few hours.
- Once dry, sand the area lightly with fine-grit sandpaper to ensure a smooth finish.
- Apply a color-matched vinyl paint or dye to blend the repair seamlessly with the rest of the dashboard.
This method works best for smaller cracks but can also be used as a base layer for deeper repairs.
How to Repair Larger Dashboard Cracks
Larger cracks require a more robust approach, but don’t worry—it’s still doable with some patience and attention to detail.
- Fill the Crack: Use a strong epoxy glue or dash filler to fill the crack. If the crack is especially deep, consider layering the filler in multiple applications to ensure it adheres well.
- Reinforce the Area: For extra strength, some DIY enthusiasts recommend using a thin piece of fiberglass mesh or vinyl as a backing material. Place this inside the crack before applying the filler.
- Sand Smooth: Once the filler dries, sand the area until it’s smooth and flush with the surrounding surface.
- Finish with Paint or Dye: Color-matching is crucial for larger repairs. Use high-quality vinyl paint to restore your dashboard’s original appearance.
This method may take longer but ensures durability, even for significant damage.
Using Preventative Measures to Avoid Future Damage
After you’ve successfully repaired your dashboard, it’s time to protect it from future damage. Here are some practical tips:
- Use a Sunshade: A simple windshield sunshade can block harmful UV rays and keep your dashboard cool.
- Apply UV Protectant: Regularly treat your dashboard with a UV-blocking protectant spray to maintain its elasticity and resistance to cracking.
- Park in the Shade: Whenever possible, park your car in shaded areas or invest in a car cover for added protection.
- Maintain Interior Temperatures: Use window tints or air conditioning to reduce temperature extremes inside your car.
Preventative care is always easier and more affordable than dealing with repairs down the road.
FAQs
What is the most cost-effective way to repair a cracked dashboard?
Vinyl repair kits are often the most affordable and straightforward solution for minor cracks. These kits are widely available and user-friendly, even for beginners.
Can I use regular glue to fix dashboard cracks?
While regular glue might provide a temporary fix, it lacks the flexibility and durability needed for automotive interiors. Specialized fillers or epoxy glue designed for dashboards are recommended.
How long does a DIY dashboard repair last?
The longevity of a DIY repair depends on the quality of materials used and how well the dashboard is maintained afterward. Proper care can extend the repair’s life significantly.
Do dashboard covers prevent cracks?
Yes, dashboard covers are an excellent preventative measure. They shield the surface from direct sunlight and temperature fluctuations, reducing the risk of cracking.
What’s the best way to match the color of the dashboard?
Most vinyl repair kits include color-matching guides. Alternatively, you can purchase custom-mixed vinyl paint to match your car’s specific interior color.
Should I consider professional repair instead of DIY?
Professional repairs are a great option for extensive damage or if you’re short on time. However, most minor and moderate cracks can be fixed successfully with DIY methods.
You Might Enjoy: 4 Signs You Need To Get Paintless Dent Repair
Conclusion
Fixing a cracked dashboard doesn’t have to be an expensive or overwhelming task. With the right tools, a little patience, and some attention to detail, you can restore your dashboard to its former glory and protect it from future damage. Remember, preventative measures such as using a sunshade or UV protectant spray are your best defense against sun damage. So, roll up your sleeves, grab your repair kit, and enjoy the satisfaction of a successful DIY project!





+ There are no comments
Add yours